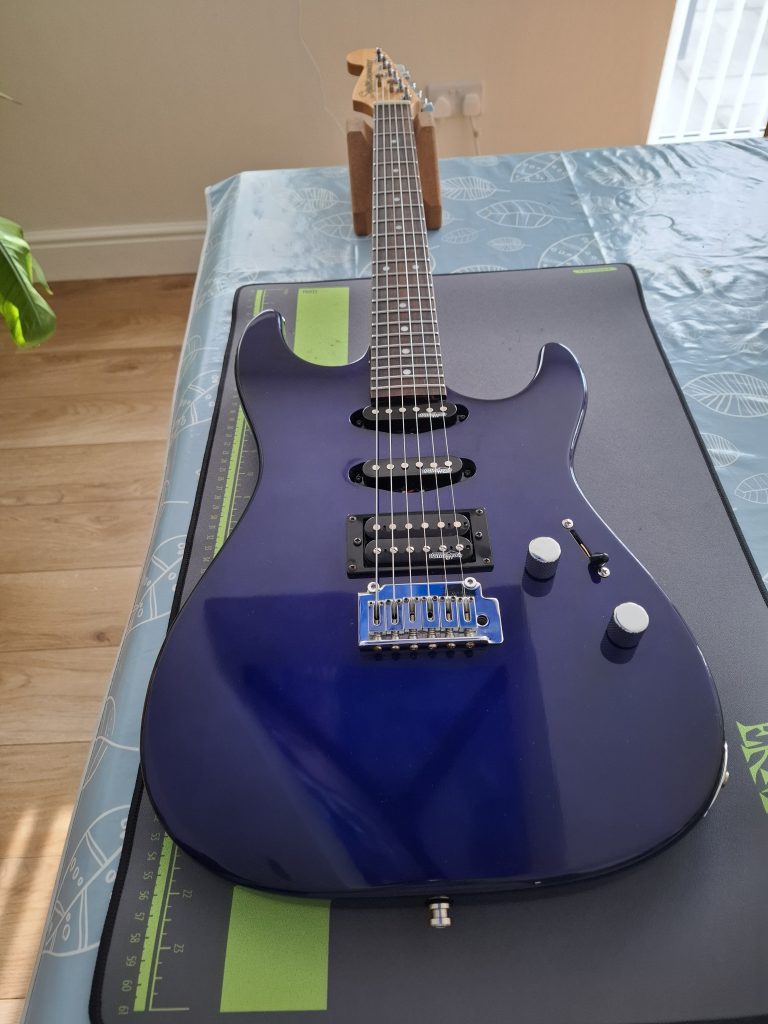
Are your guitar or bass frets looking a bit worse for wear? Are you wanting to learn about cleaning and maintaining your fretboard?
Dull and tarnished frets don’t just look bad – they also affect the playability of your instrument and can shorten its lifespan.
If you’ve ever played on a electric or acoustic guitar or bass with frets polished to a mirror shine – you’ll know what I mean. When you have polished frets, the strings just glide off them – making bends and vibrato a breeze, enhancing the overall fretwork.
When you have dull and tarnished frets it can feel like you’re playing on sandpaper.
The good news is, there a many (many) ways to polish and clean your guitar frets – many of which don’t need expensive materials, just a little time.
In this post we’ll look at the many options you have to make your frets polished like a mirror!
Table of Contents
Why is cleaning and maintaining your fretboard important?
Taking care of your guitar fretboard is crucial for several reasons. Regular cleaning and polishing helps maintain the wood’s condition, prevents build up of dirt and grime, and ensures smooth playability.
A well-maintained fretboard not only looks great but also extends the lifespan of your guitar. Plus, cleaning and maintaining your fretboard can be a fun and satisfying part of guitar maintenance!
Cleaning the frets and fretboard
Before we get started on the polishing, 1st we need to get off as much grime as possible.
First things first, you’re going to need to remove the strings from your guitar or bass.
Now if you’ve got enough winds at the tuning peg, you might get away with just loosening the strings and then using string separators (or even just lollipop sticks…) to keep them held off the fretboard.
If you put the sticks behind the neck, you can use this to hold the strings out of the way (saving you having to get a new set of strings).
Now you have good access to the fretboard and frets – lets get it cleaned.
Disclaimer: I accept no liability for any issues that occur as a result of you putting different materials on your instrument – what I can say, is that I’ve used these things without issue – but that doesn’t guarantee the same will be true for you. Proceed at your own risk 🙂
What tools do I need to clean and polish my guitar fretboard?
To get started, you’ll need a few essential items: a microfiber cloth, 0000 steel wool, a fret guard, some masking tape, a guitar cleaner (preferably silicone-free), and optionally, some lemon oil for unfinished fretboards.
If you’re planning to polish your frets, you might also want to invest in a fret polishing kit or different grits of sandpaper. We’ll talk through all the options in the rest of this post 🙂
The cheapest fretboard cleaning option – Naphtha (lighter fluid)
No I’m not asking you to go all Jimi Hendrix and cleanse your guitar with fire(!)
But weirdly naphtha (which seems hard to buy here in the UK) or lighter fluid (easily available) actually does a great job of cutting through any built up dirt and grime. Better still, it evaporates – leaving no trace.
Words of caution: Lighter fluid is of course extremely flammable and gives off some pretty serious fumes – so exercise some common sense if using it.
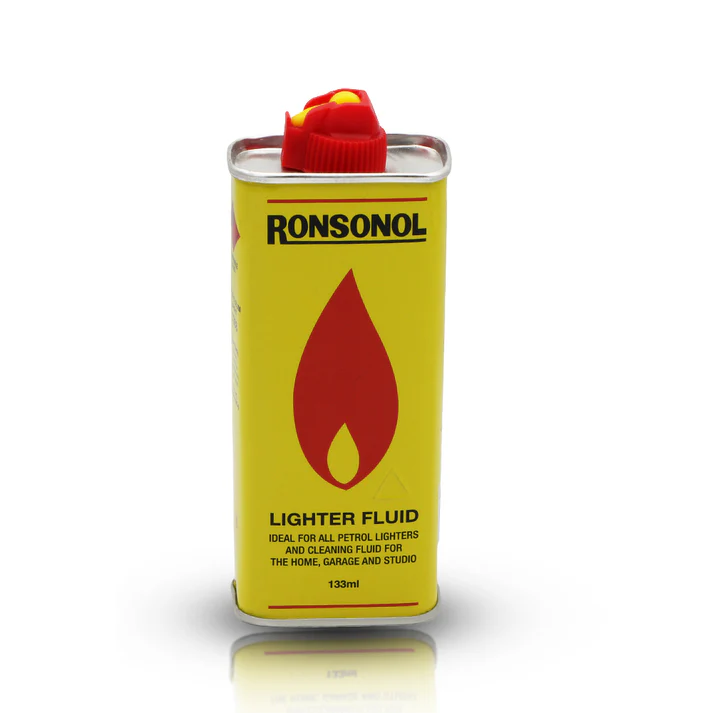
Also worth noting that it is a very strong solvent – so care should be used if you’re doing this to a finished (glossy) maple fretboard. Rosewood etc no problem – but with a finished board you do risk the possibility of ‘melting’ the finish (lacquer).
You can just use paper towels for this – or if you have a really dirty situation, I prefer micro fibre cloths (easily picked up in super markets etc).
Important note: Lighter fluid will ‘suck’ some of the oils out of your fretboard (not a technically accurate description!) so you will need to condition (unfinished) fretboards after that. But that’s a topic for another day (TLDR get some lemon oil or similar) .
Purpose built guitar fretboard cleaners
As you’d imagine there are loads of purpose built guitar cleaners on the market. Some are general purpose cleaners for your instrument, and some are specific to fretboards.
I’m not advocating for specific brands or handing out affiliate links (sorry – not that kind of site – I just do guitar setups locally). BUT here are some brands that I’ve used and been happy with the results for cleaning and maintaining your fretboard (note these cost more than lighter fluid…):
- Music Nomad – a USA company known for quality products that help guitarists with their fretwork.
- Dunlop – USA company and a household name in guitar world
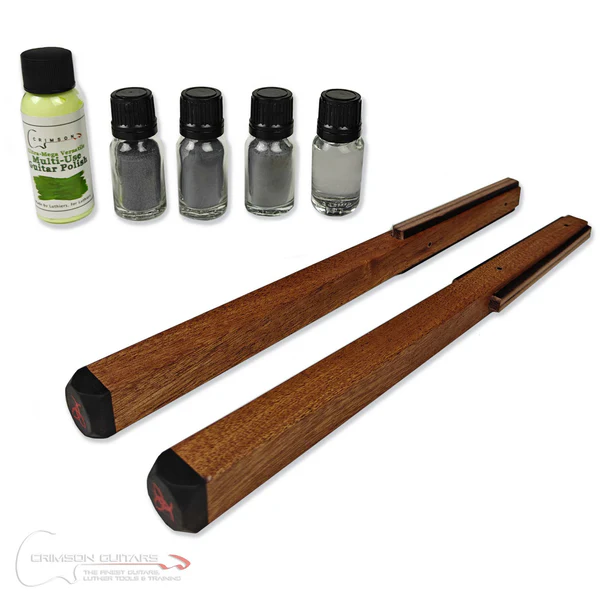
- Crimson Guitars – UK company (but quite pricey)
So now we’ve got off all the dirt, we can move onto the main event – actually polishing the frets.
Fret polishing 101
So let’s start with the objective – we want to polish and buff the frets until they have a ‘mirror shine’ to them – so they gleam in the sunlight (etc….) 😉
Now as with fret and fretboard cleaning, there are many many ways to do this.
But let’s talk through some of the main ones for effective fretwork:
Wire wool / Steel wool on frets
Wire wool is a very fine ‘micro abrasive’ available in various different ‘strengths’
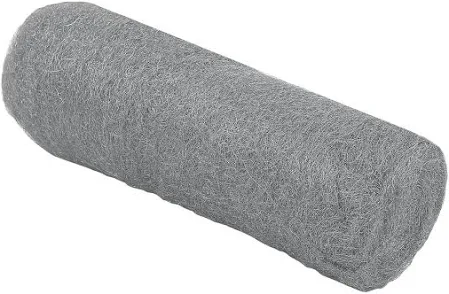
0000 Wire wool (aka 0000 steel wool) is readily available and very cheap. Simply rubbing a microfiber cloth along the lengths of the frets a few times will quickly make a difference in their appearance. huge difference to how polished they are.
BUT (there’s always a but isn’t there?!) Wire wool is incredibly messy – and, well, made of wire.
That means you don’t want it anywhere near your pickups (which contain magnets) – so masking tape your pickups and when you’re done ‘hoover’ up the wire wool that has shed – there will be lots.
The same applies to your fretboard – especially a lacquered maple one – it will shred your finish in no time.
So to avoid this you need to protect the fretboard. How? Well one way is to buy a purpose built fret guard (cheap and easy tin find online) OR just use masking take to cover off your fretboard (just leaving the frets exposed).
Use sandpaper on frets
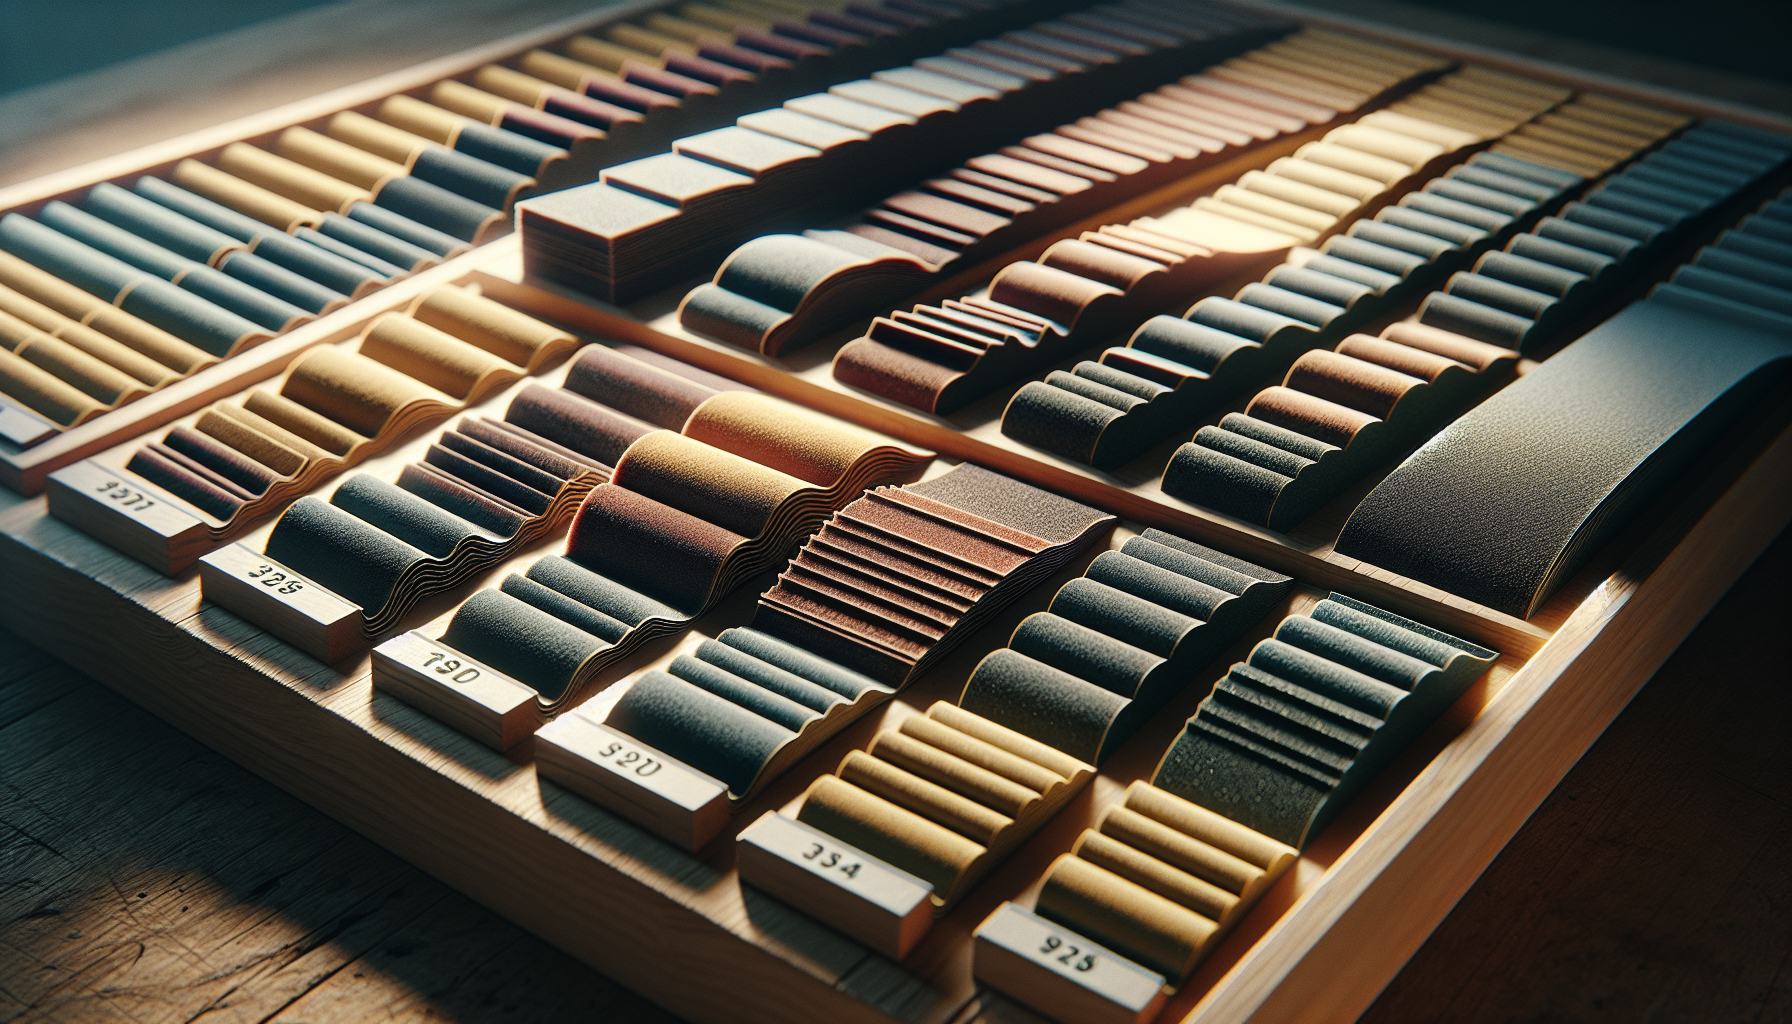
Another budget friendly option is to use sandpaper. Now we’re not talking 120 grit here (you’ll actually level your frets if you try that!) but using progressively higher grits of fine sand paper.
Start with something like 600/800 grit and work your way up to 2000 (can be less – see how you’re going results wise). On the lower grits – just go careful, don’t use too much pressure, or a lot of strokes per grit as you can actually remove fret material – this is not the goal here.
We are just trying to polish.
Using sandpaper to polish your frets is a cheap option with the added benefit of not needing to worry about protecting your pickups, though it can be time-consuming. Fretwire (nickel silver) isn’t magnetic – neither is sandpaper.
That said the same rules do apply about protecting your fretboard. Again masking tape is your budget-friendly option for protecting the fretboard while doing fretwork 🙂
Micro Mesh to polish frets
Micro mesh is a (relatively) new invention – usually found in the form of cloths or sticks – these are much higher grits than you find with sandpaper.
You’ll find sets that start at around 1200 grit and can go all the way up to 25000(!)
If you’ve got the patience – this can give truly excellent results. In fact, this is probably my favourite method (in terms of results) – actually doing it is probably giving me RSI….
Just work your way up the different grits and by the time you get to the end, your frets truly will look like a mirror and play great!
And the other benefit is, as the grits are so high, you don’t need to worry about taking away fret material by mistake. Believe me – your arms will wear out before your frets do when you polish with micro mesh…
Using a leather strop to polish frets
This method is a little bit more obscure, but by using a combination of leather, some mineral oil, and some corundum powder of different grits you can get some great results.
Really you are creating your own ‘sandpaper’ with the powder and using the leather (which is a natural abrasive) to buff and polish the frets to a mirror shine.
Work your way up different grits of corundum powder (like you would with sand paper and micromesh) and you’ll soon see your frets gleaming 🙂
If you want to go the extra mile, then do a final pass using a metal polish (like Autosol) and you really will have a mirror shine.
Again I’ve had great results with this method – but the downside is you need some pretty specialist stuff, that you’re not likely to have just laying around the house. But if this is something you intend to do a lot, it’s worth the investment.
Polishing guitar frets with a Dremel
Sounds crazy – but actually you can get great (and very quick) results with this method.
All you need is a Dremel (or other rotary tool), one of the cloth buffing attachments and some metal polish.
Apply the polish to each fret (use a small paint brush or cue tip) and then work your way up the speed settings.
Caution: Doing this will cause your frets to heat up. If they get too hot it could melt any glue holding them in/make the wood expand around them and unseat them, which is something every guitarist should avoid. You do NOT want that to happen. So 2-3 seconds per fret – work your way up the fretboard without rushing, and by the time you get to one end, the other end will have cooled down.
So there you have it! As you can see there are lots of cheap and easy ways to get your frets nicely polished – but be warned, mirror polished frets get addictive! 😀
And of course if you’d like someone to polish and clean your frets for you – I’d be happy to help. Just drop me an email if you’re in West Sussex!
